Here we are, its been awhile (8 months now), I've made promises in the past about posting regularly again, going to give it another shot. Those of you that keep checking in to see the same old, apologies, thanks for sticking around.
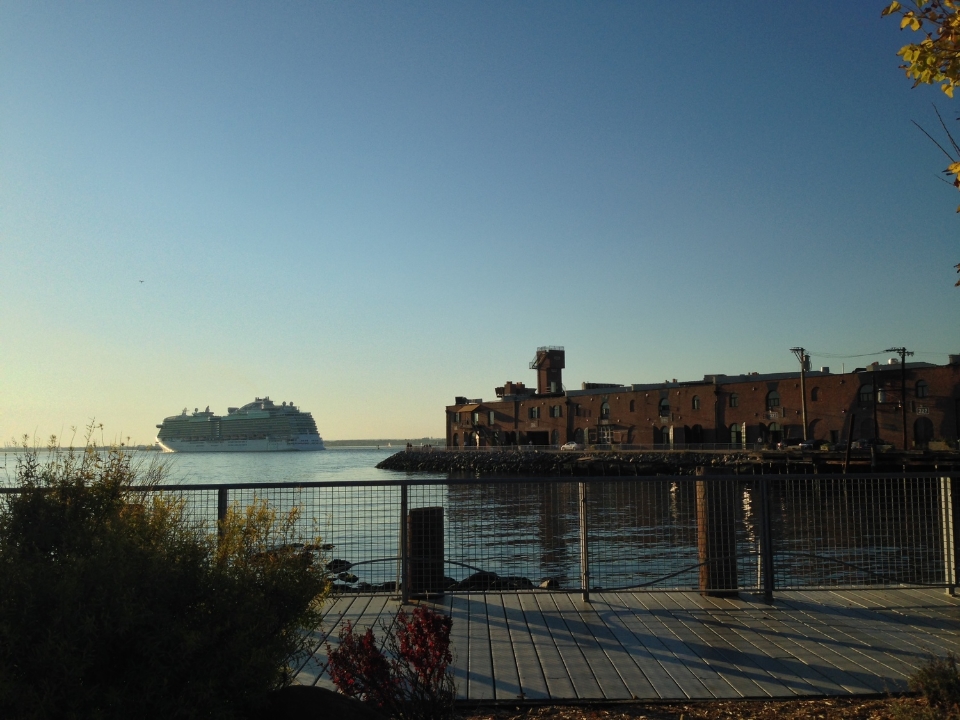
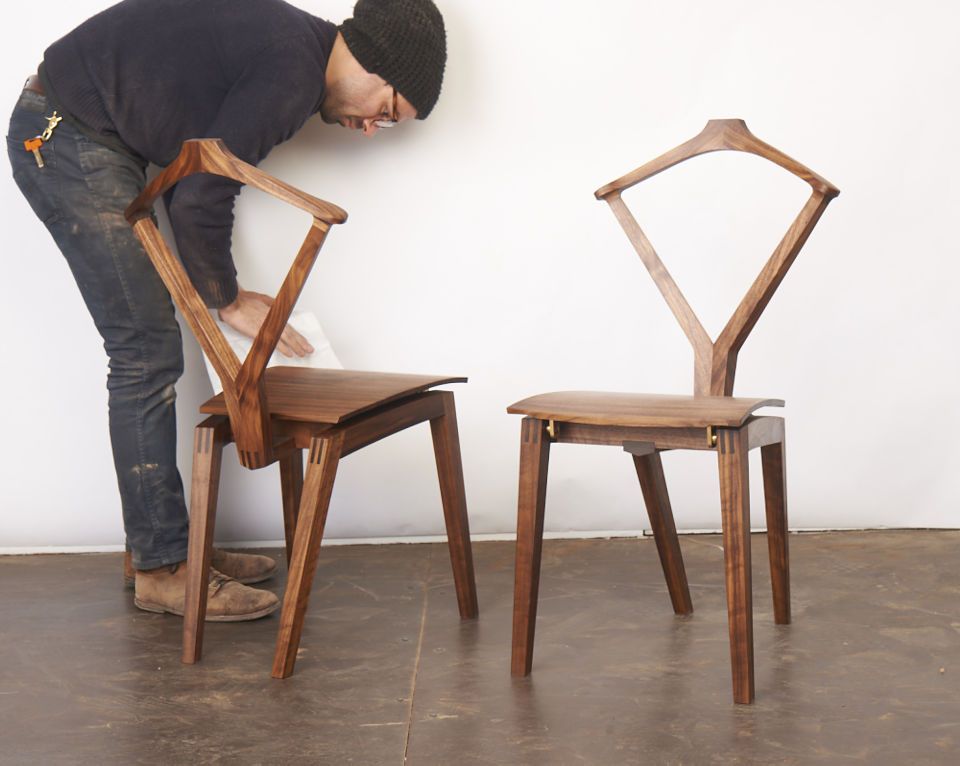
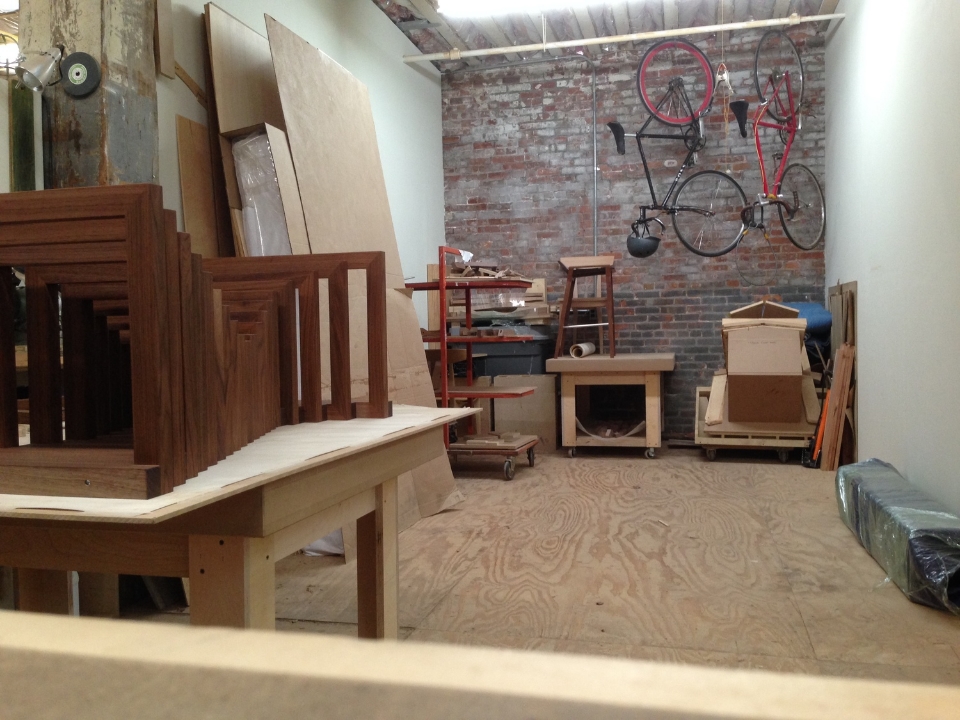
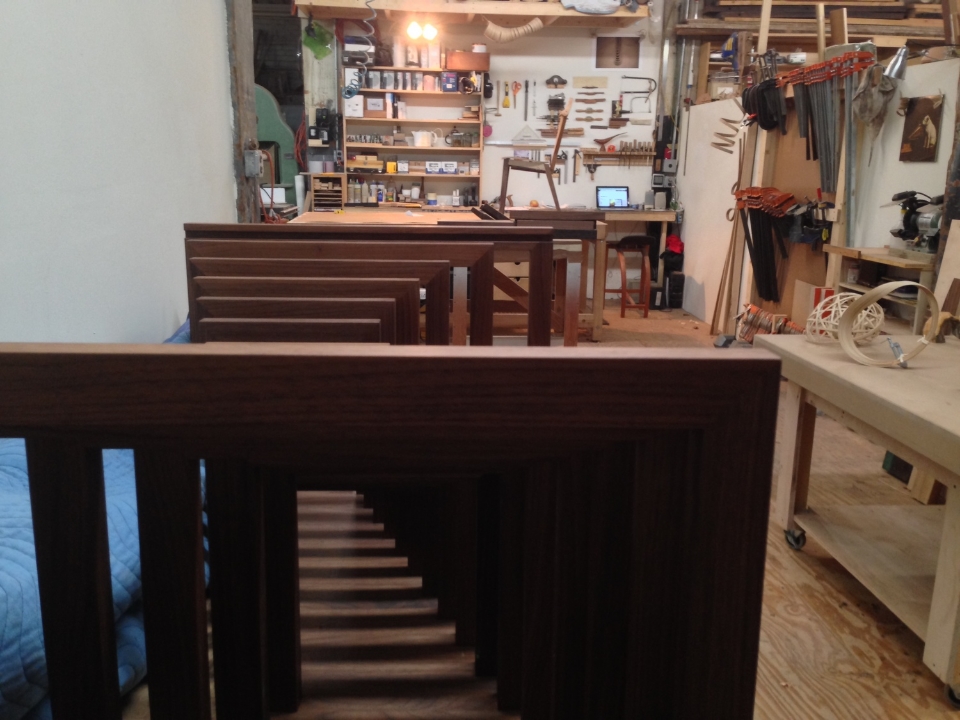
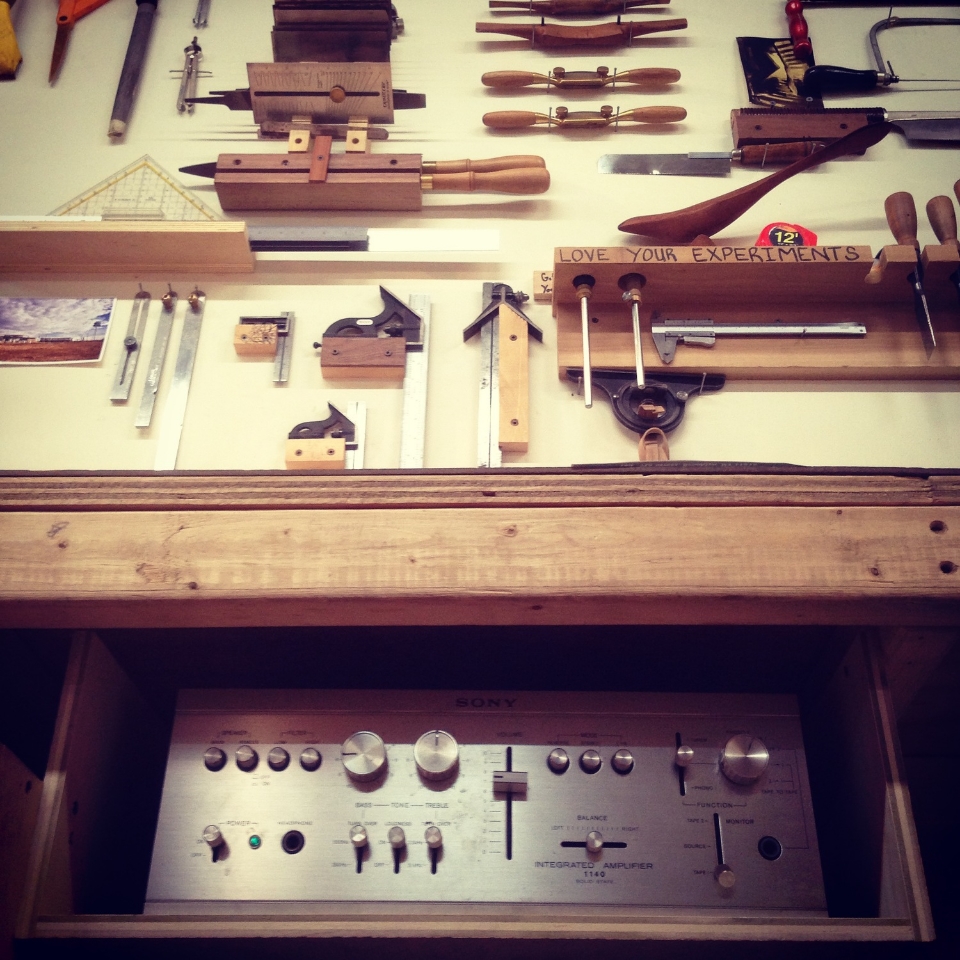
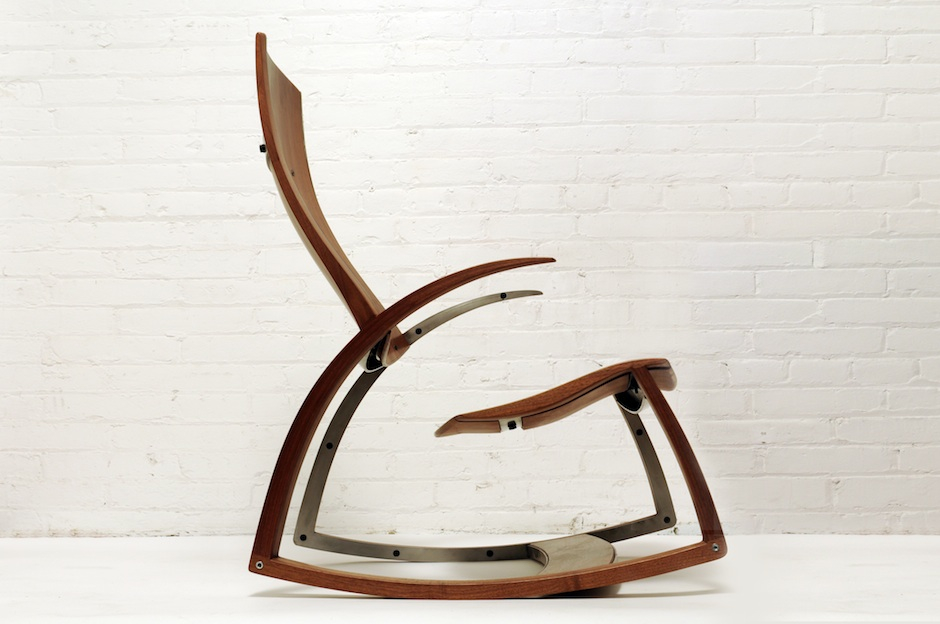
A lot has happened and there's even more on the horizon, we're going to mix up posts of new happenings and things from the past 8 months. For now, enjoy some pictures of our lovely studio in Red Hook, Brooklyn, and take a sneak peak at our latest completed commission, the valet chair.
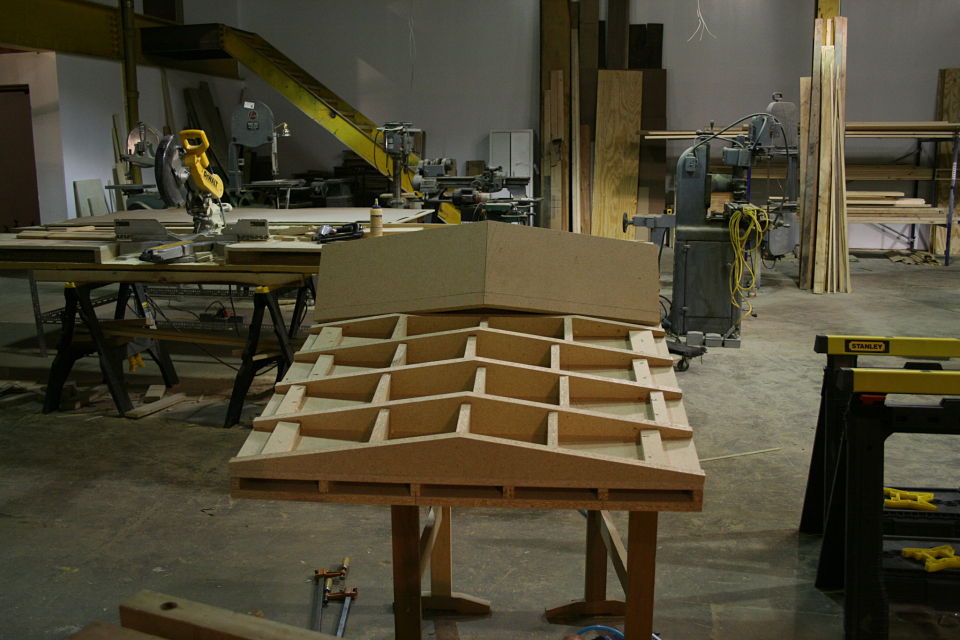
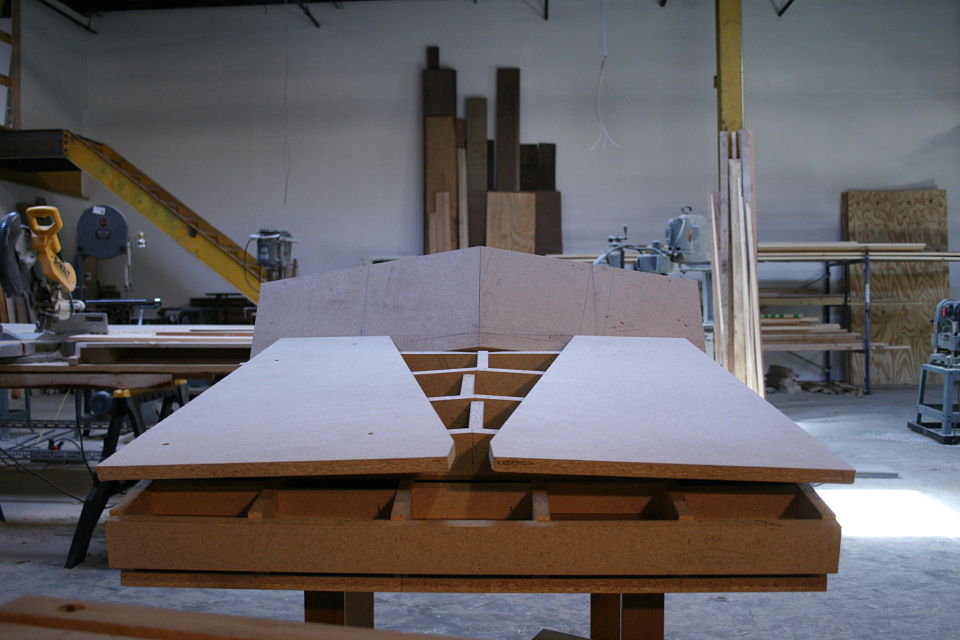
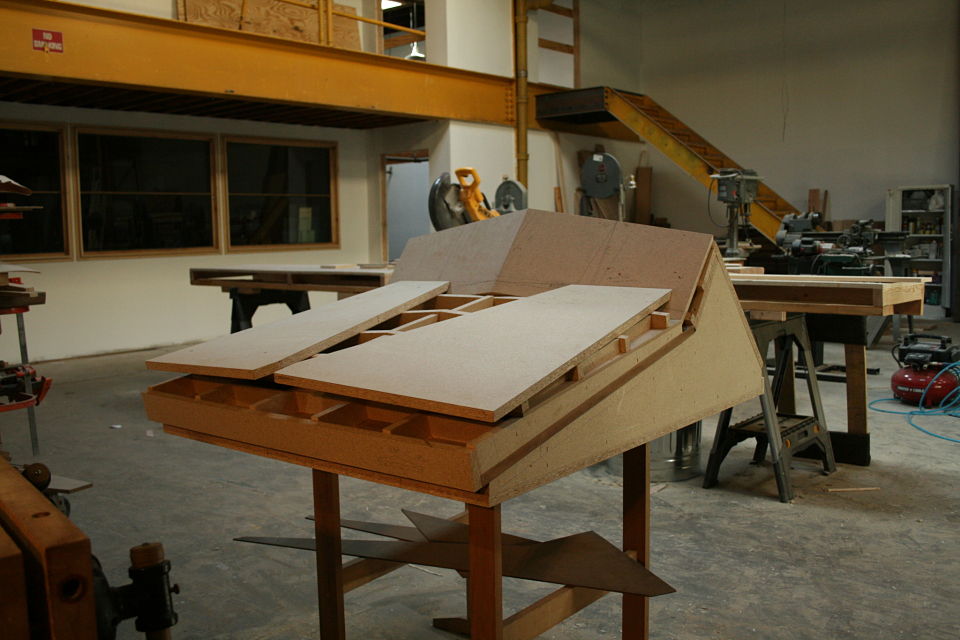
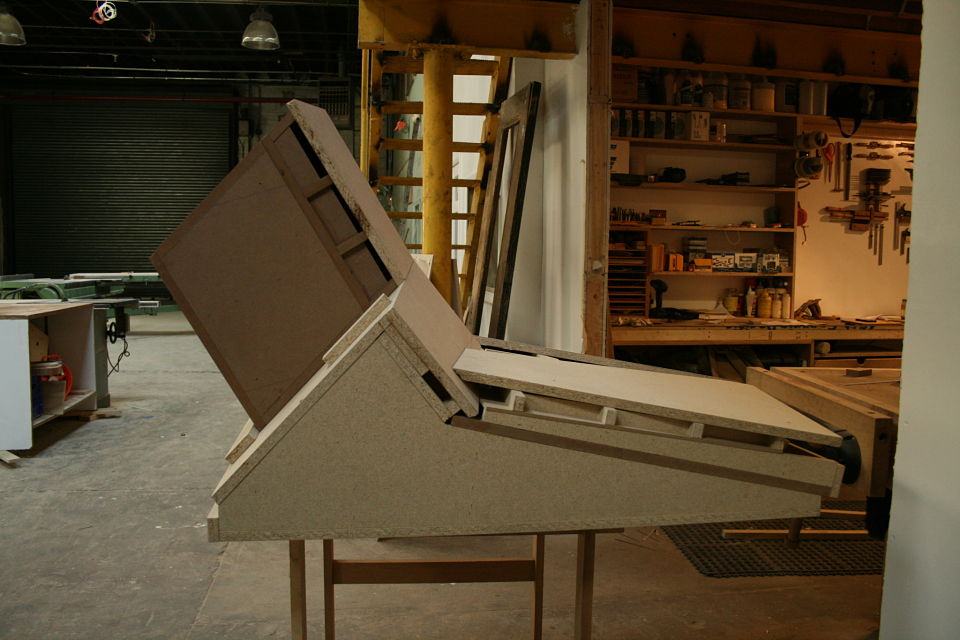
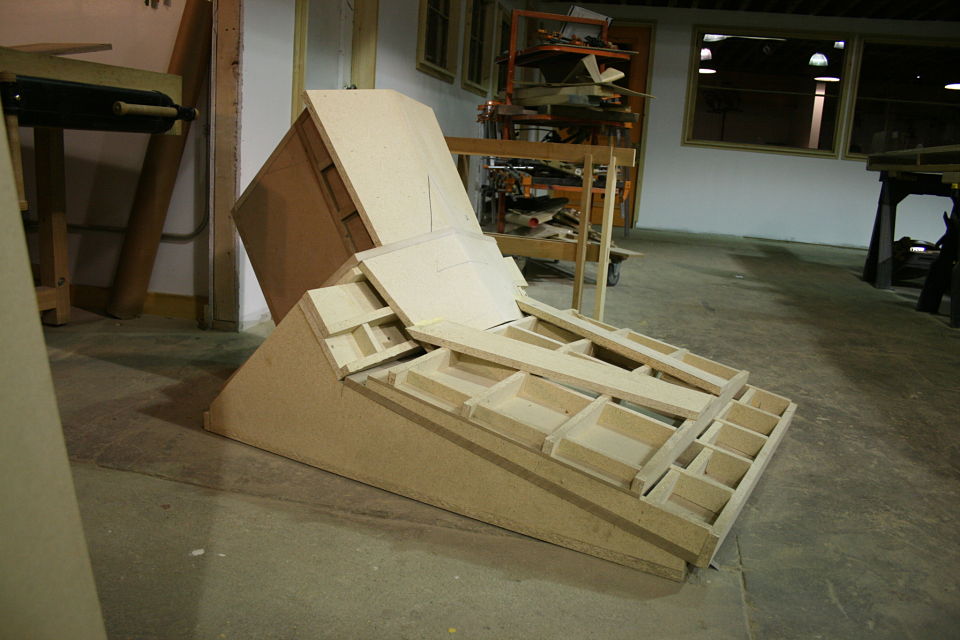
You call that a form?
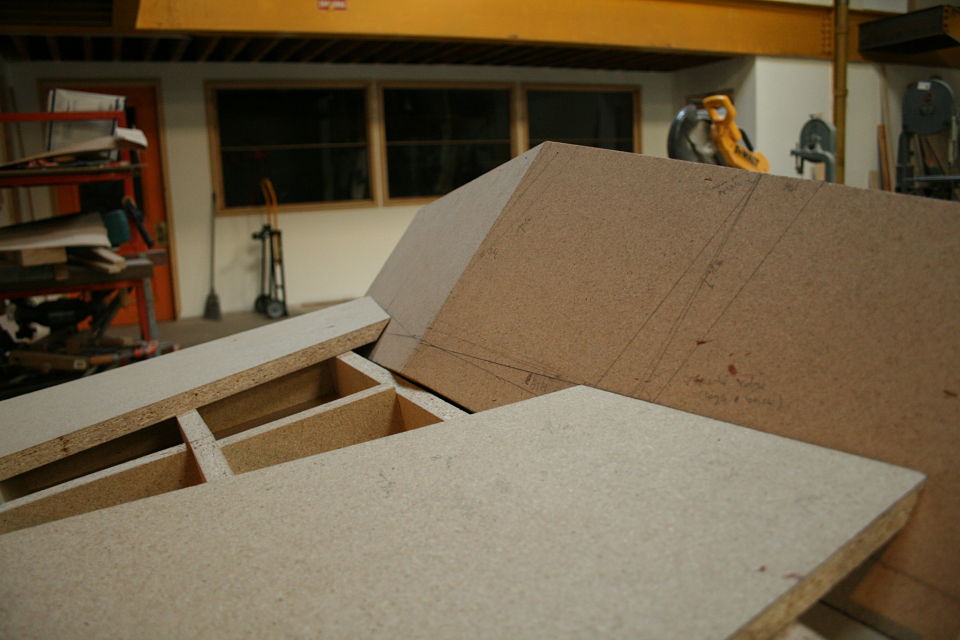
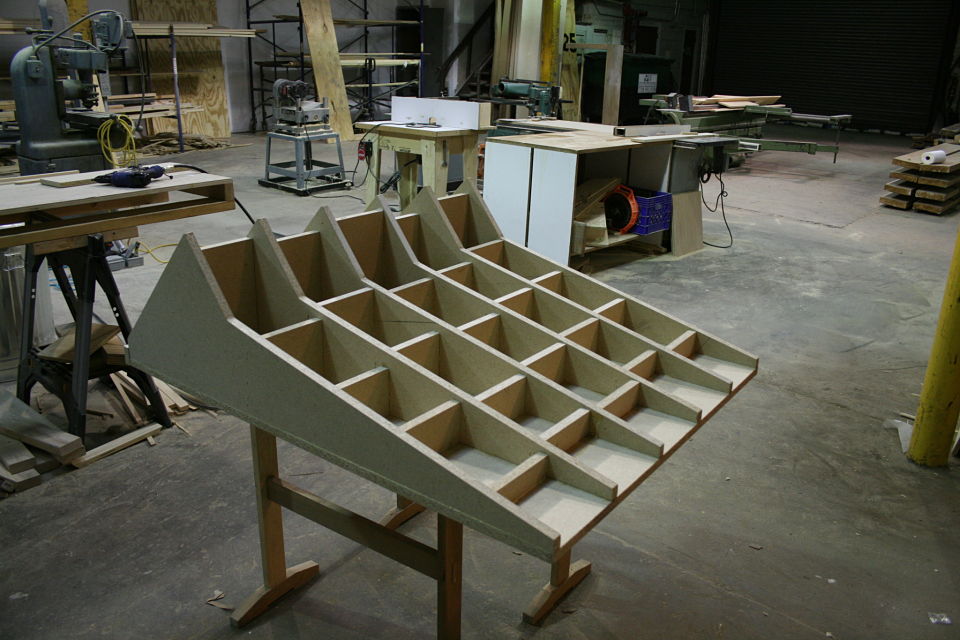
It has been quite the journey since proving the folded paper concept could work. I have gone through many, many sheets of particle board / mdf and more coffee than I care to admit. It has taken days to build, and days to refine and alter. This form could likely keep the building from flying away in case of a hurricane at this point. I am not entirely sure how I managed to sort it all out, but somewhere amongst the caffeine and sleepless nights (possibly related) I sorted through the angles, and the angles where angles meet angles.
The form is composed of 6 separate torsion boxes. Together they give me the angles I require, or at least I certainly hope so.
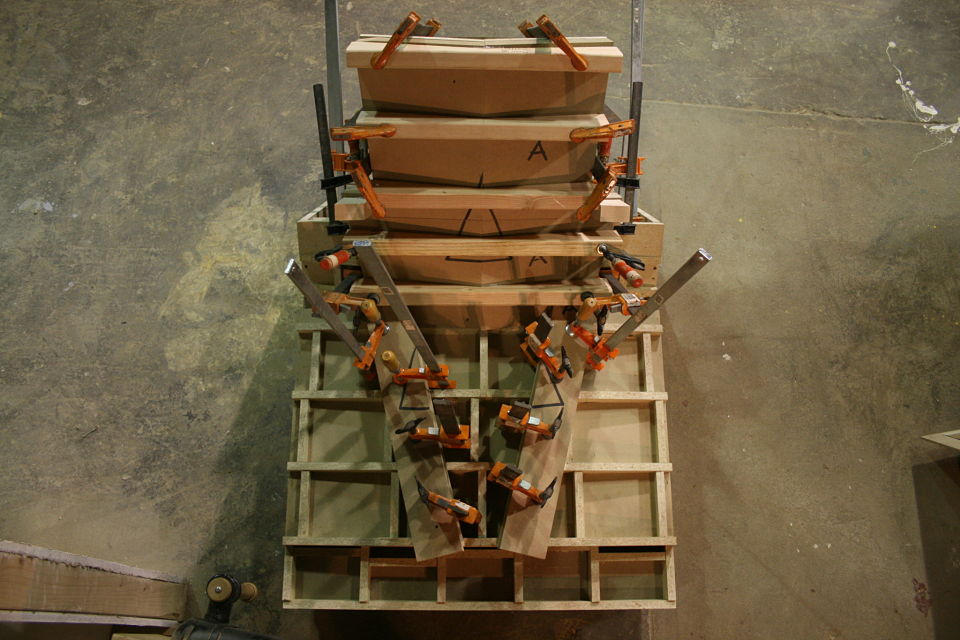
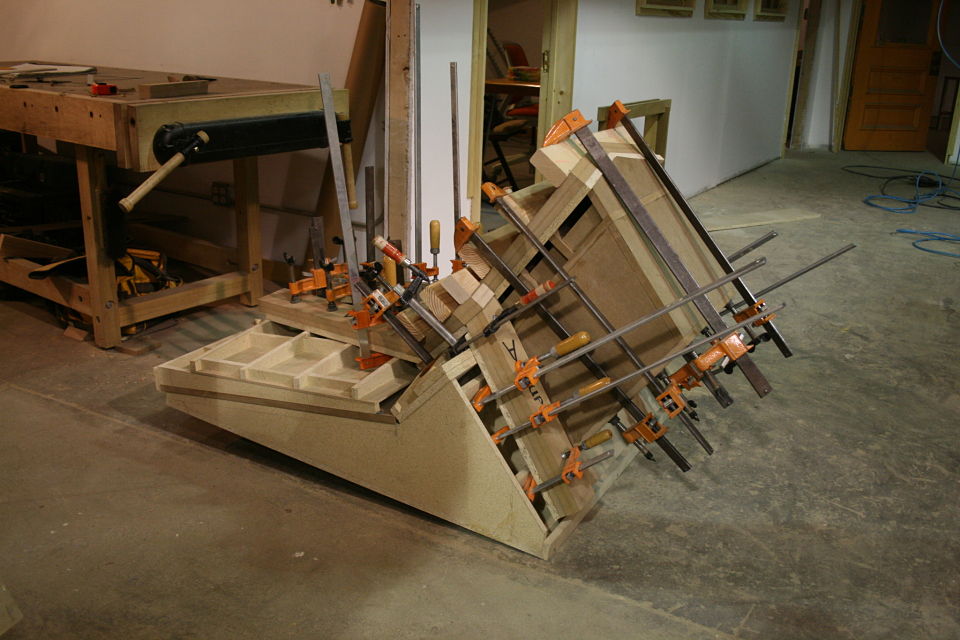
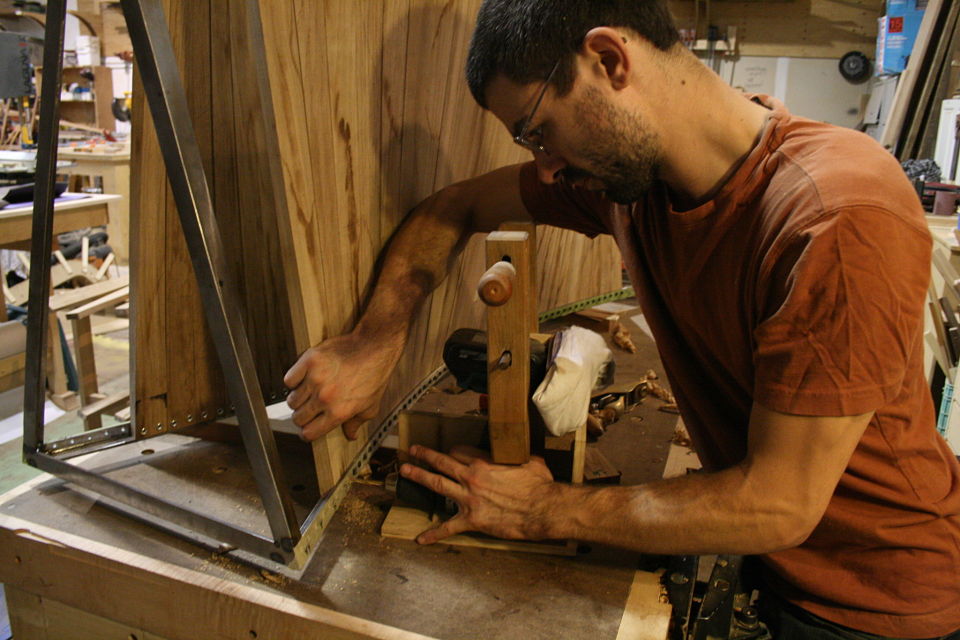
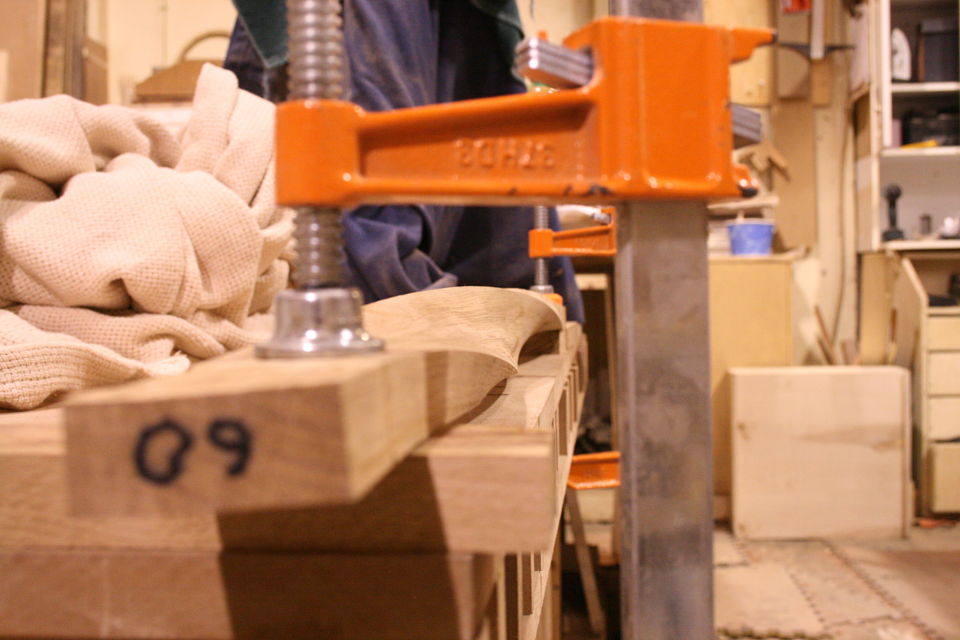
With the form "complete" I needed to devise a clamping strategy (no way this contraption was fitting in the vacuum bag). A clamping caul system was the only way I could conceive making it work, and so the adventure of making an elaborate set of clamping cauls began. 1.5" thick mdf formed the platens (compound angles meeting compound angles) that would sandwich the veneer with "sprung" beams running across them. Because I won't be able to get a clamp into the center of the panel and I don't own any 12" deep clamps I needed to "spring" the beams. Basically the beams are touching in the middle (peak of the triangle profile) of the platen and around an 1/8" high on each end where the clamping pressure will be applied. As the clamps get tightened they will close that 1/8" gap creating more pressure in the middle of the platen. Simple stuff really.
This is the first of two forms that will be used to make the chair. This one will be used to create a bent ply panel that will form the back rest, arm rests and back legs.
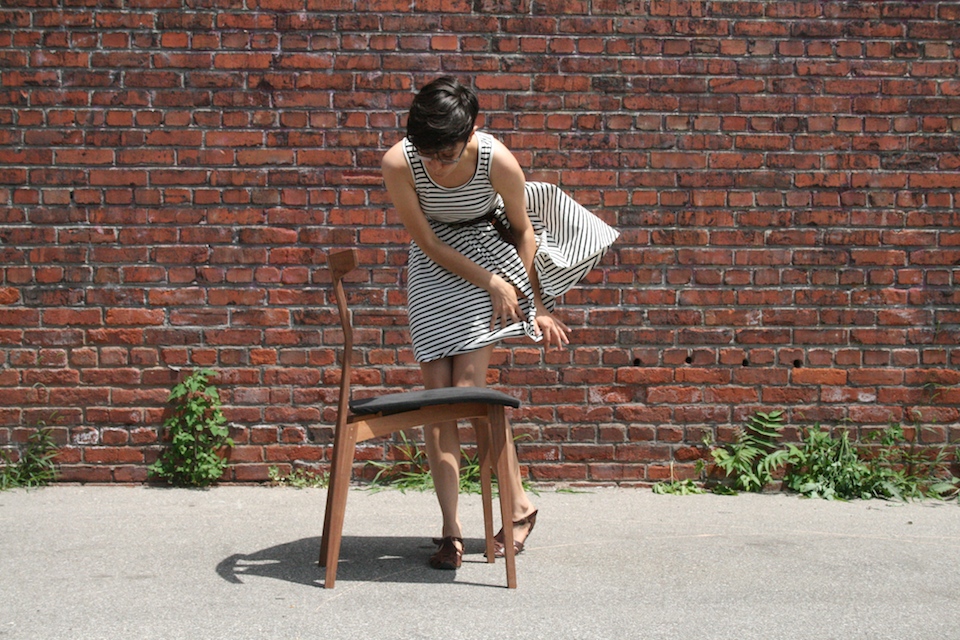
Rocking Chair Debuts at the Interior Design Show
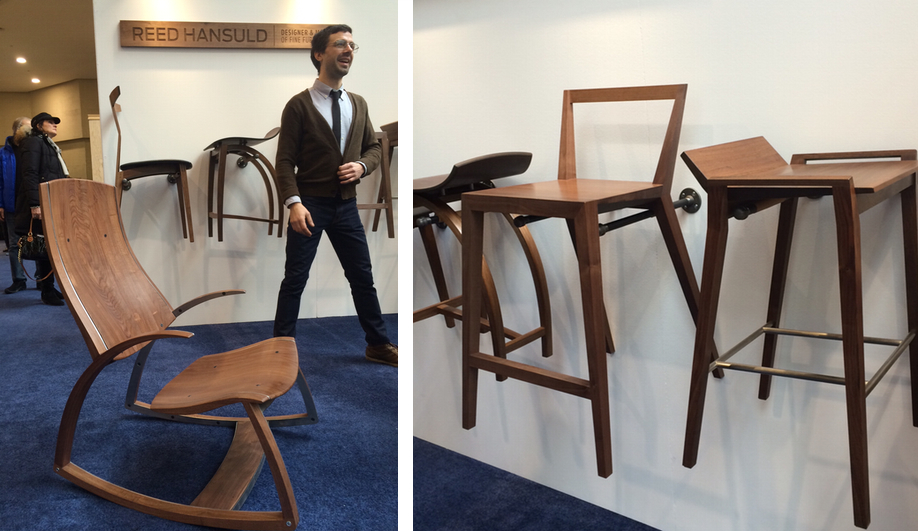
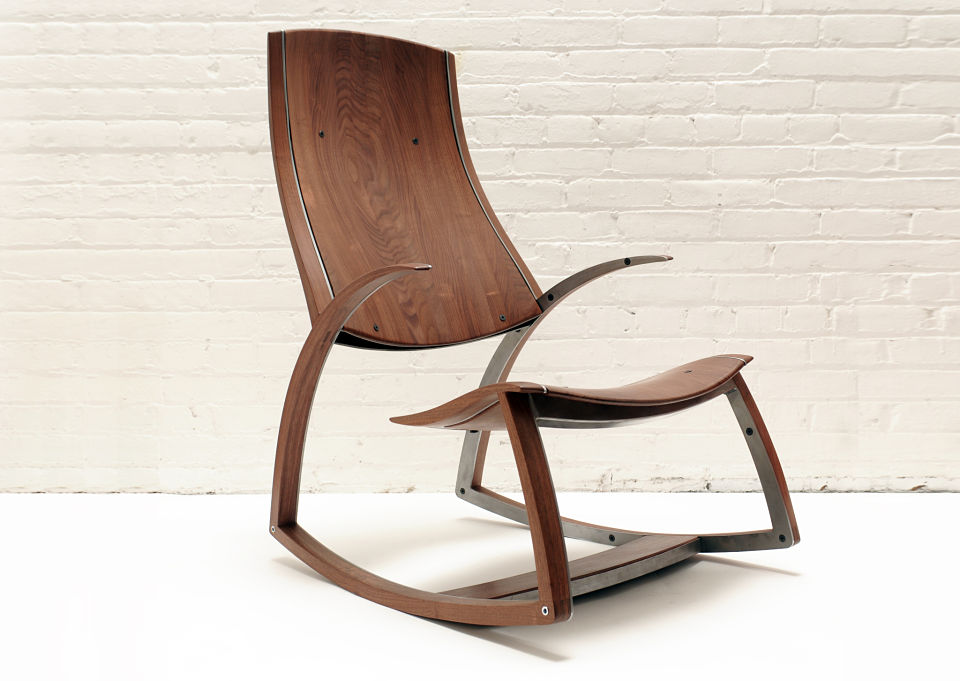
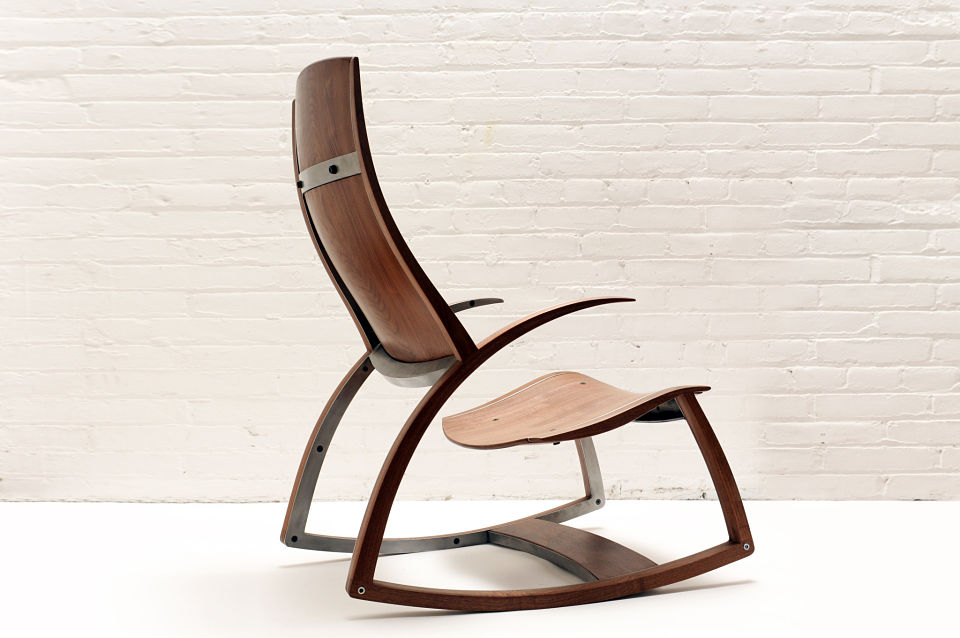
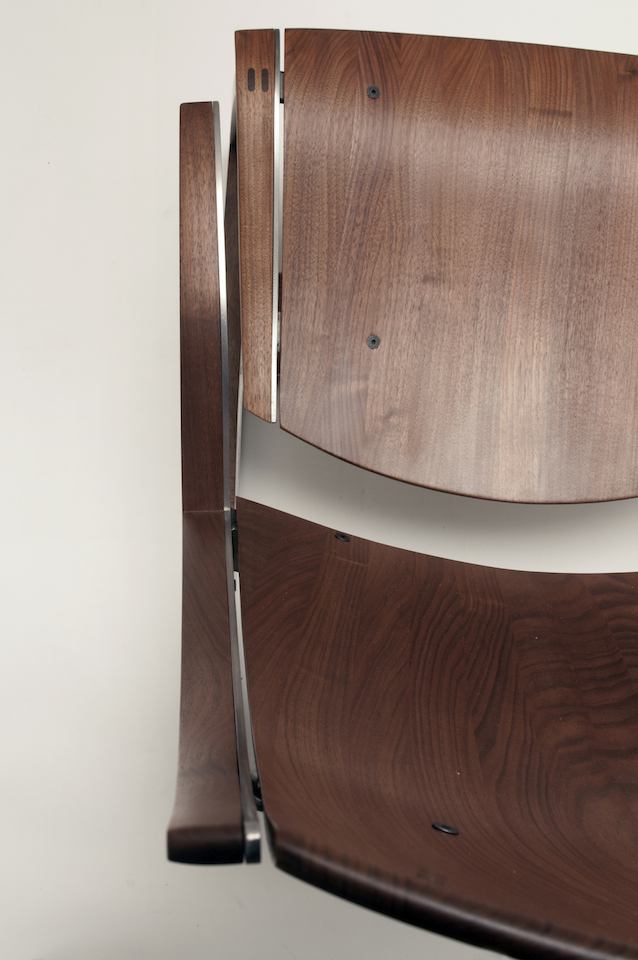
I know it has been a long time between posts, the business and life side of all this took priority for a little while. Through January and February I was preparing for and exhibiting at the Toronto Interior Design show as well as relocating to Brooklyn, New York. In this post is a picture from the show as well as the most recent piece produced, Rocking Chair No. 1. It is walnut construction with a steel subframe, the steel gives the piece the structure it requires to take the load of a person. The cool (and somewhat unexpected) thing about it is the chair has no noticeable flex from the cantilevered seat or back, but has a slight flex side to side. It allows the back and seat to move independently from one another as the sitter adjusts in the chair.
I will go back in the coming weeks to post the process of creating this chair as well as posting about a new chair commission I am in the midst of currently designing.
Thanks for following, hope you enjoy.
Dining Table No.1 Finds Its Home
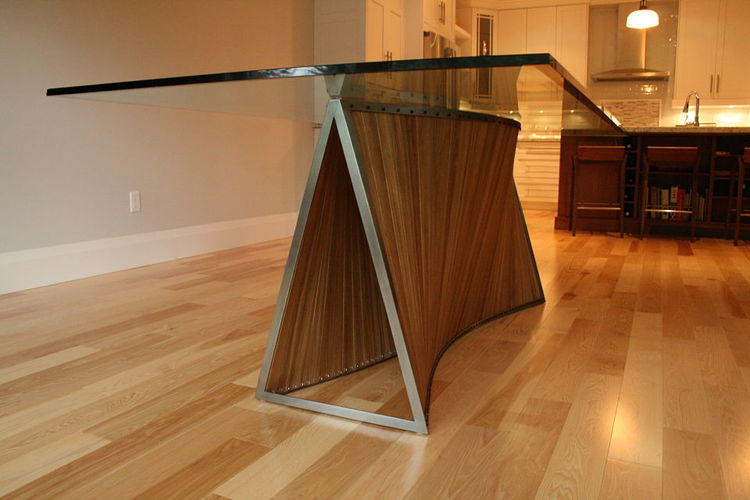
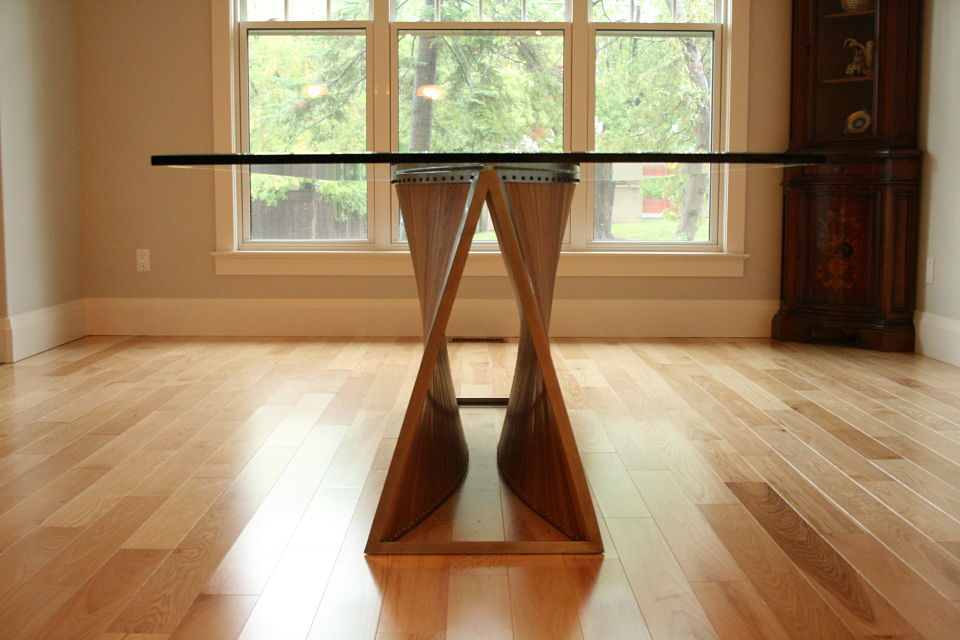
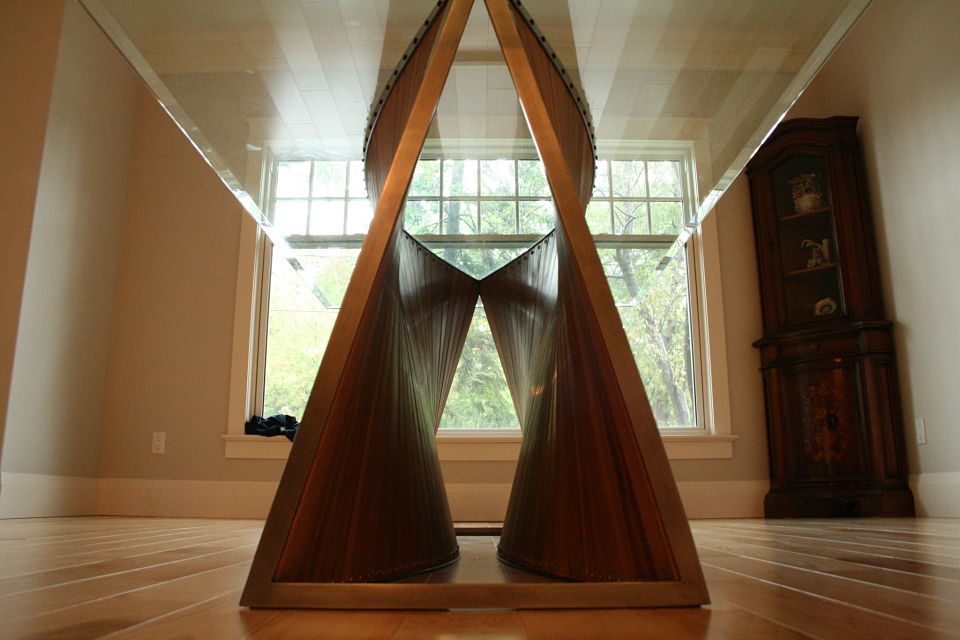
Dining Table No. 1 has arrived in its new home. I was enormously nervous while delivering this table, I was unsure of how stable the table would be but was very pleasantly surprised to find I could actually sit on the outer edge of the glass without the table so much as budging. Relief. The current piece of glass is from the clients old dining table, they plan on purchasing a longer piece of glass that may have some shape to it. I will professional photograph it once the real top has arrived.
Drawing and Erasing, and Erasing
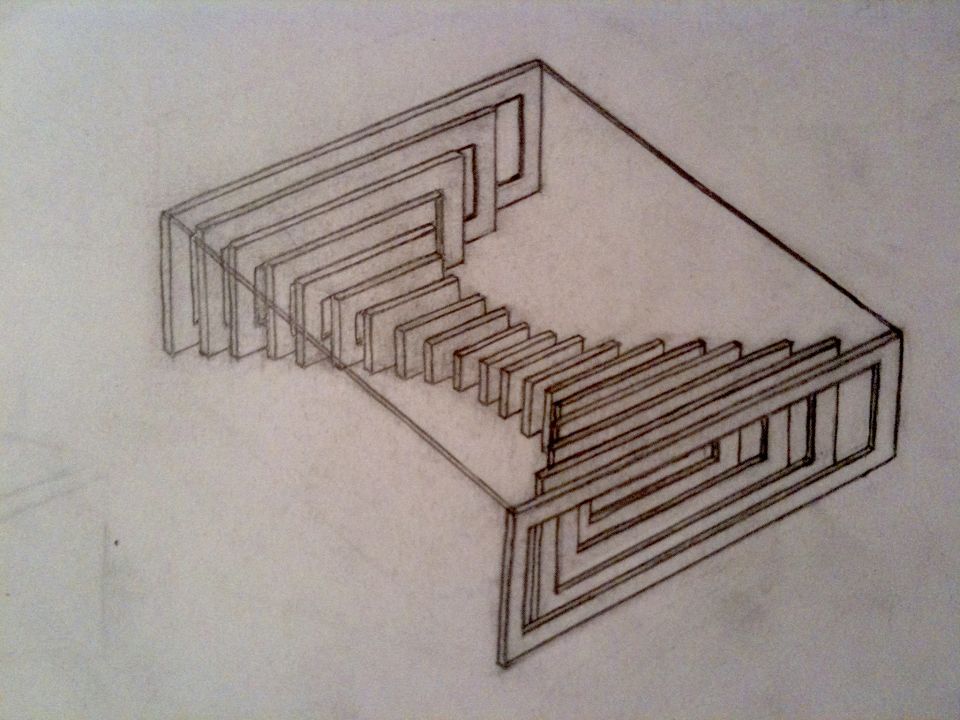
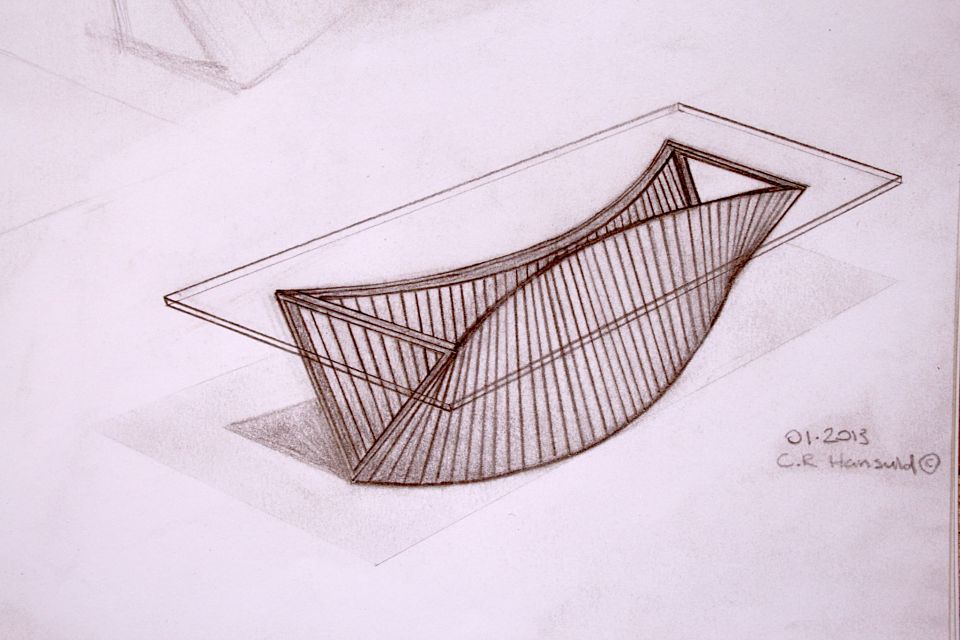
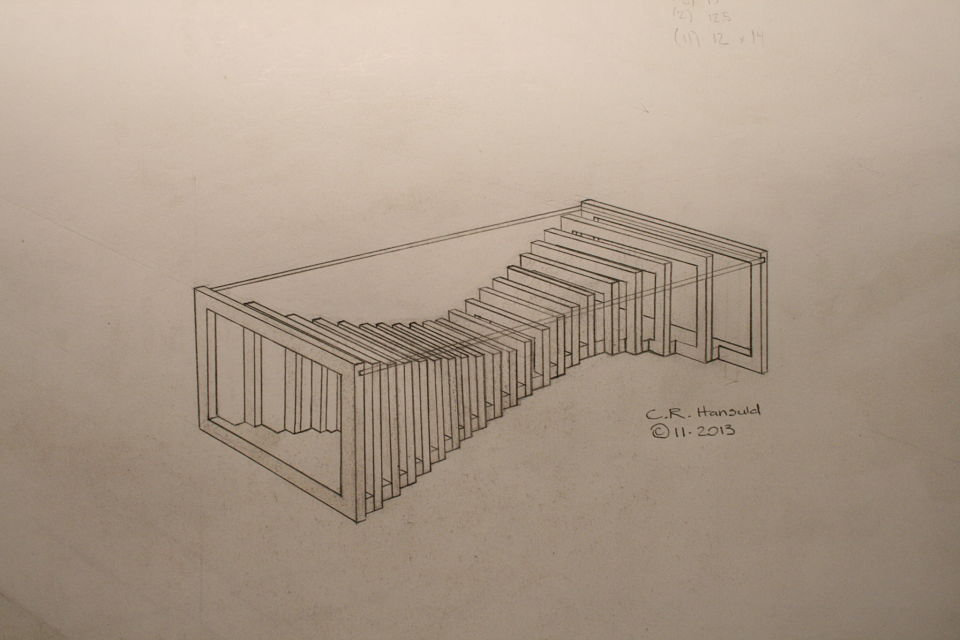
This week I have spent a bit of time sketching Coffee Table No. 1 for a new client who is looking to commission the same table, just bigger, and rectangular. In order to work through the design in my own brain and determine pricing I needed to work out the piece in scale on paper. The top view and side view of the table are done to scale and are more for my benefit, the perspective drawing is to scale as best as my eye could accomplish and is more so there to give the client an idea of what the piece will look like. Drawing is something that always takes me a long time. There is a lot of layout and erasing that happens, a LOT of erasing. It is something that I am constantly improving at, for the sake of reference I have the perspective drawing from the original coffee table design that I sold a different client this time last year. Gives you a bit of insight into how my drawing abilities have progressed in even just this last year.
As my aesthetic develops into designing pieces using lots of parts to achieve an overall greater form I wonder if my time might be better spent learning how to design on a computer. At the end of the day I just enjoy drawing by hand, probably for the same reasons I enjoy making furniture by hand. Not to mention I think there is something kind of special nowadays about showing up to a clients home with a sketchbook and a pencil to show them concepts rather then a laptop.
66 Slats / 198 Fasteners
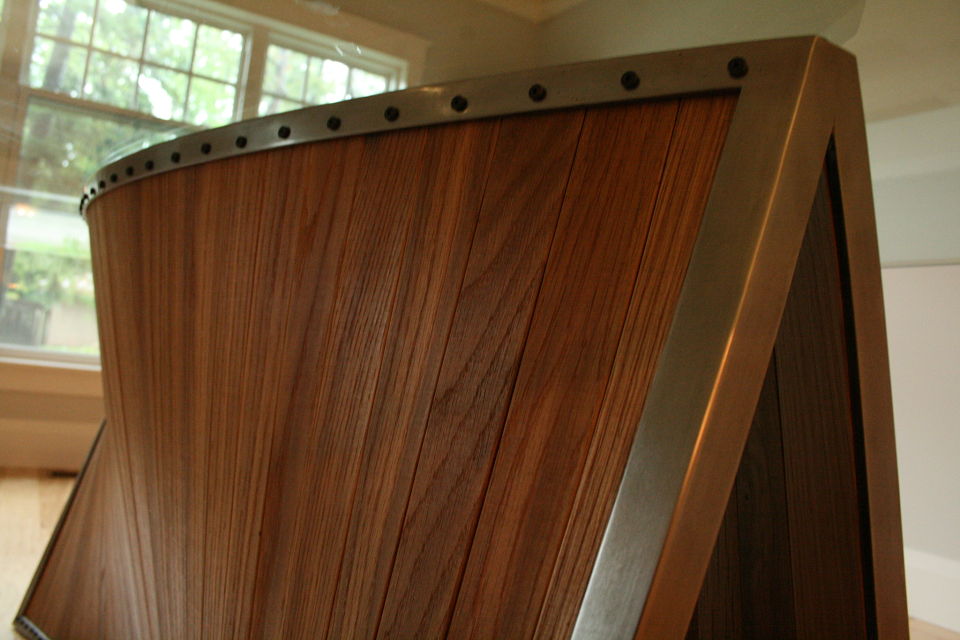
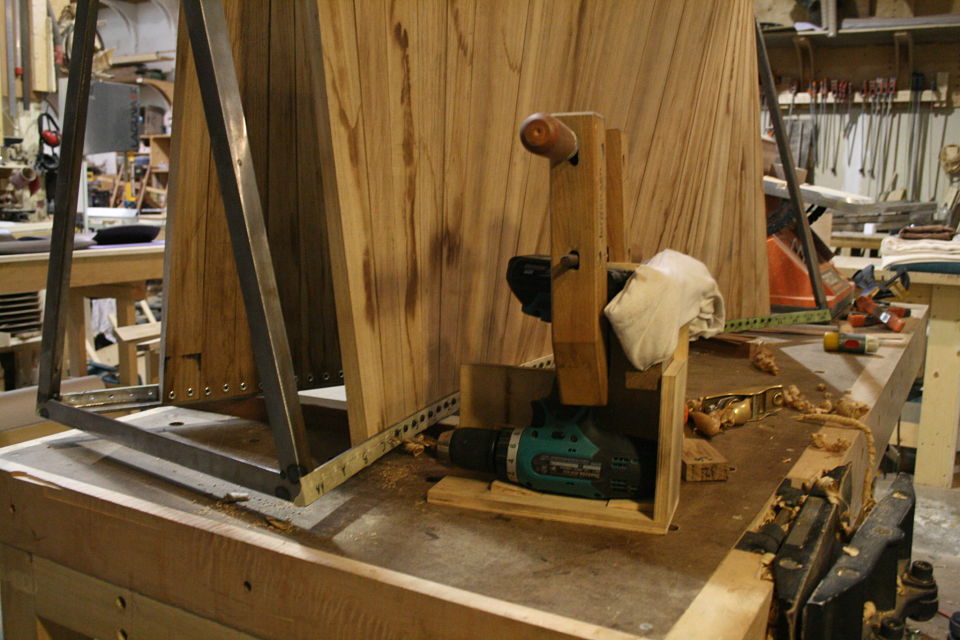
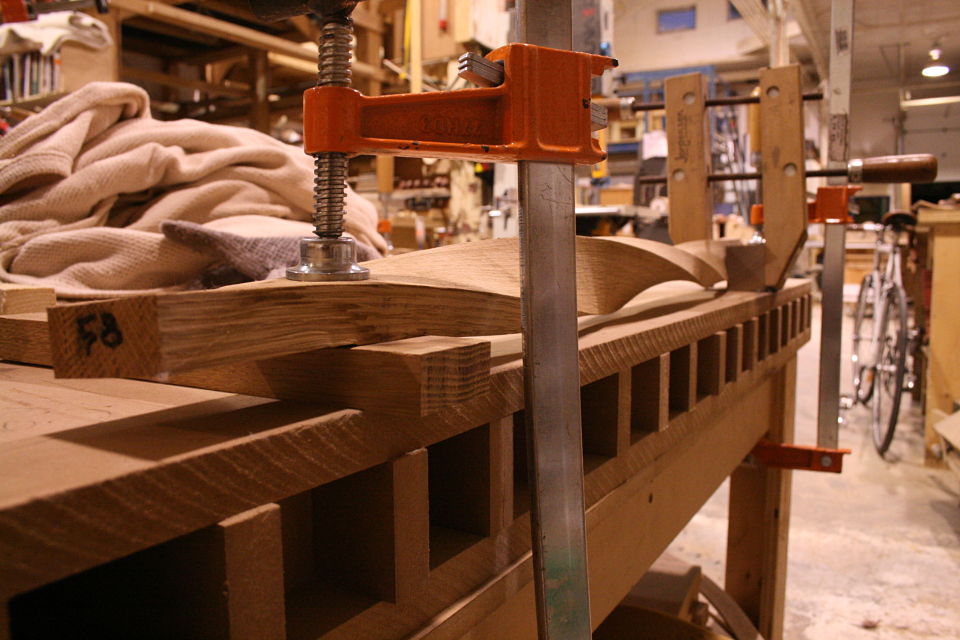
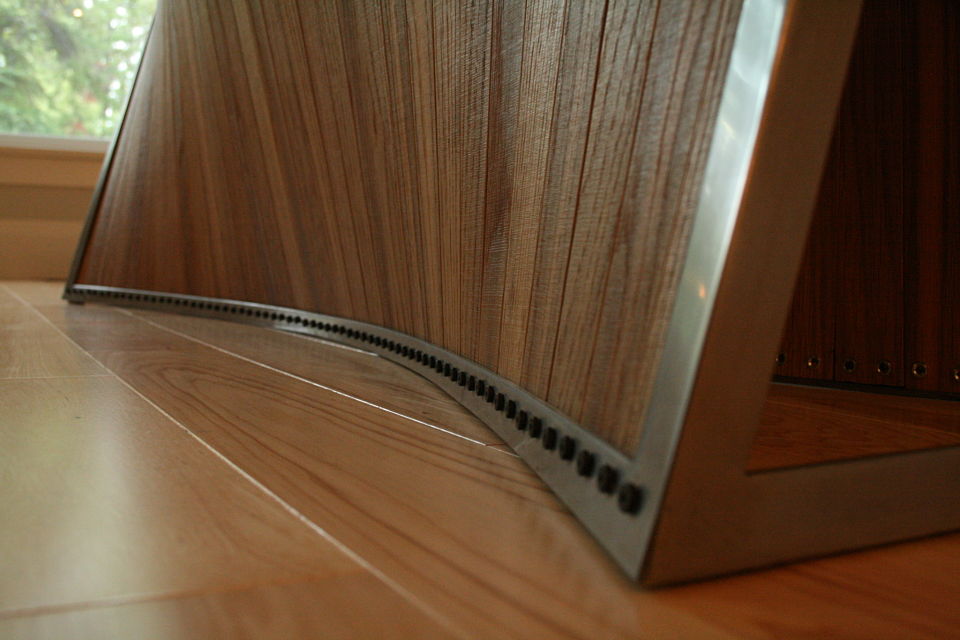
With the white oak slats twisted into shape and drying it was time to layout exactly where each slat was going to attach to the frame and drill holes in the steel frame for where the fasteners would go. It took a few tries to get the spacing right with the dividers, a centreline was scribed and the holes were set with a punch and hammer. The steel base was clamped down to the bed and using a jig that held the drill parallel to the bed 198 holes were drilled through the 3/16" thick steel. 37.25" of lineal steel were drilled through over the course of two days. As the 66 wood slats got fit into place the same drill jig was used to drill out the wood slats for the fasteners.
Twist and Shout!
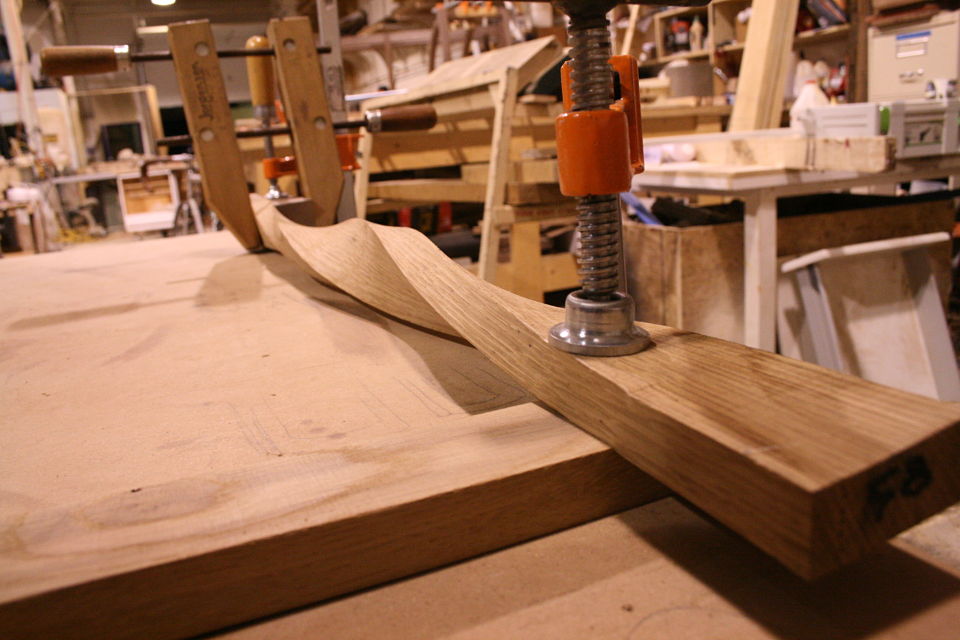
A little while back we were twisting the 3/4" thick by 2" wide by 34" long white oak slats to make up Dining Table No 1. We were doing this with kiln dried wood, which typically speaking doesn't steam bend all that well, but given that the most extreme twists for the table are around 45 degrees we tested it out, and it seemed to work without any problems. After one long day and some 70 slats twisted and clamped to the metal base to dry we decided to "test the limits" with the few that remained in the steam box. The slats were steamed for roughly 2-3 hours at 200+ degrees fahrenheit, the results were pretty incredible, to watch the bending happen check out this video.
Dining Table No. 1 Sketch
Incorporating metal into my furniture is something I have a growing interest in as of late. It opens new doors for pushing the boundaries of traditional construction and forms. Below is a sketch of a dining table commission, it will at some point be a metal frame that will house 66 twisted wood slats in the weeks to come. Stay tuned for updates of the process and headaches that will surely follow.