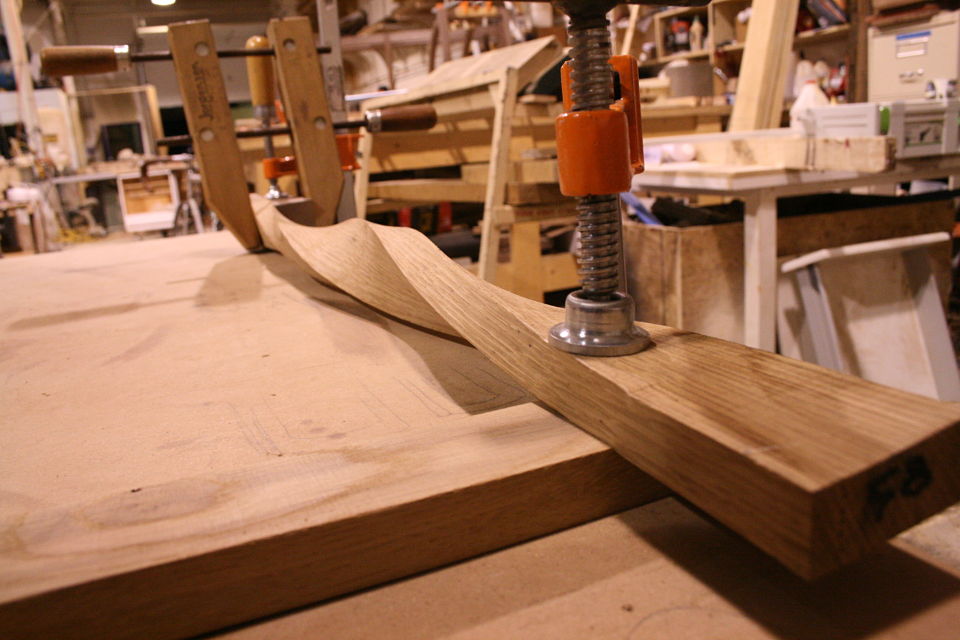
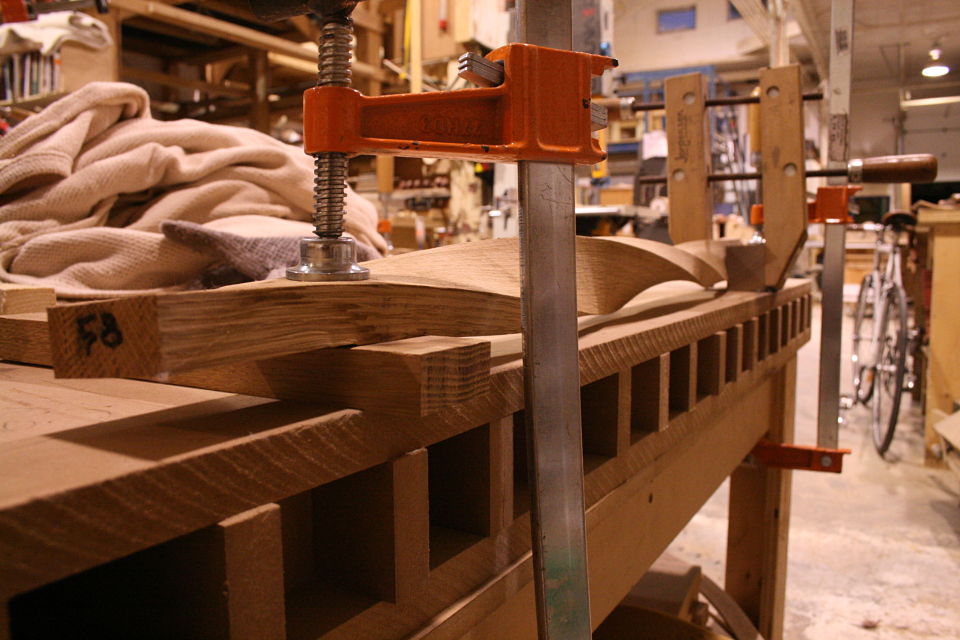
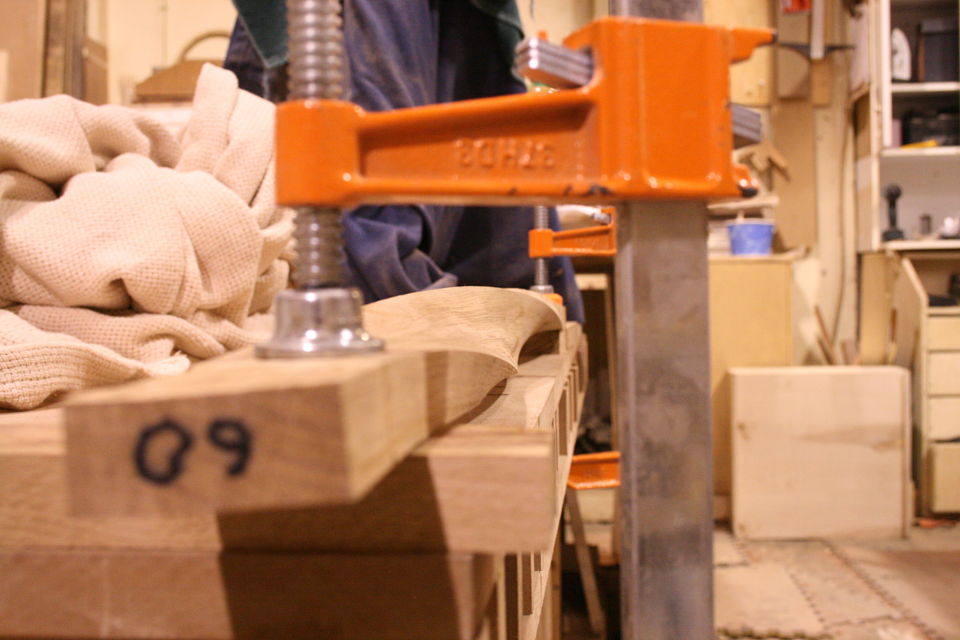
After a bit of a delay we're back on to the metal dining table with the twisted white oak slats. I know there have already been pictures of the twisted slats and a video of us "getting our twist on," but we're going to take a step back on this post.
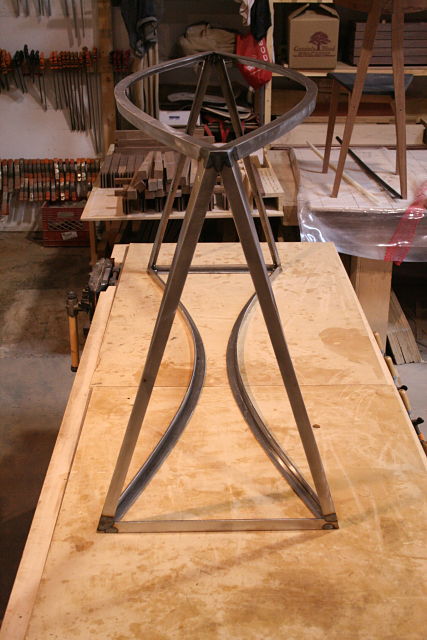
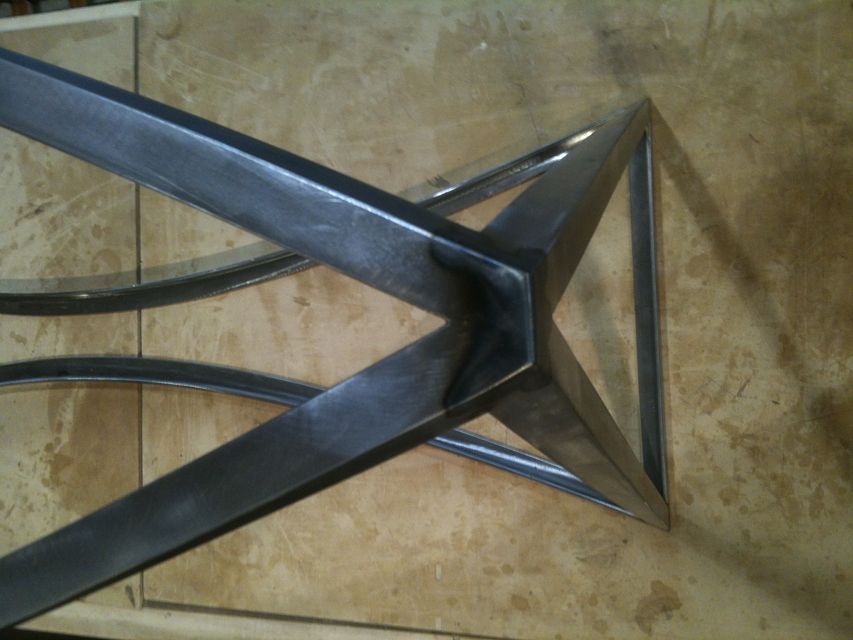
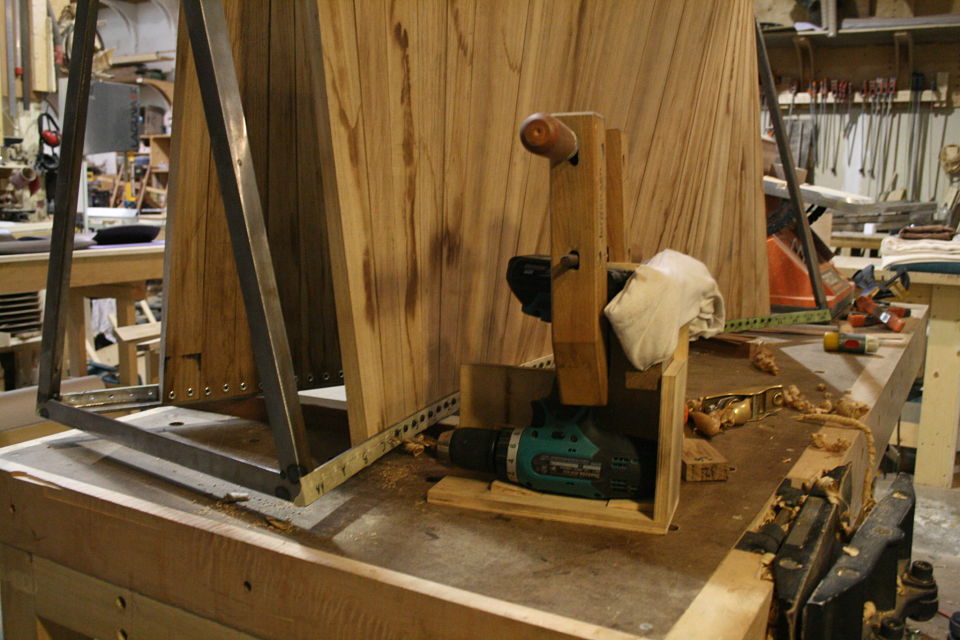
Below are pictures of the metal frame I had fabricated which will hold (frame) 66 twisted white oak slats. In order for the frame to properly hold the twisted wood slats it also requires the metal angle iron to twist from acute to obtuse back to acute, or vice-versa. This is also happening along a curve, two curves actually.
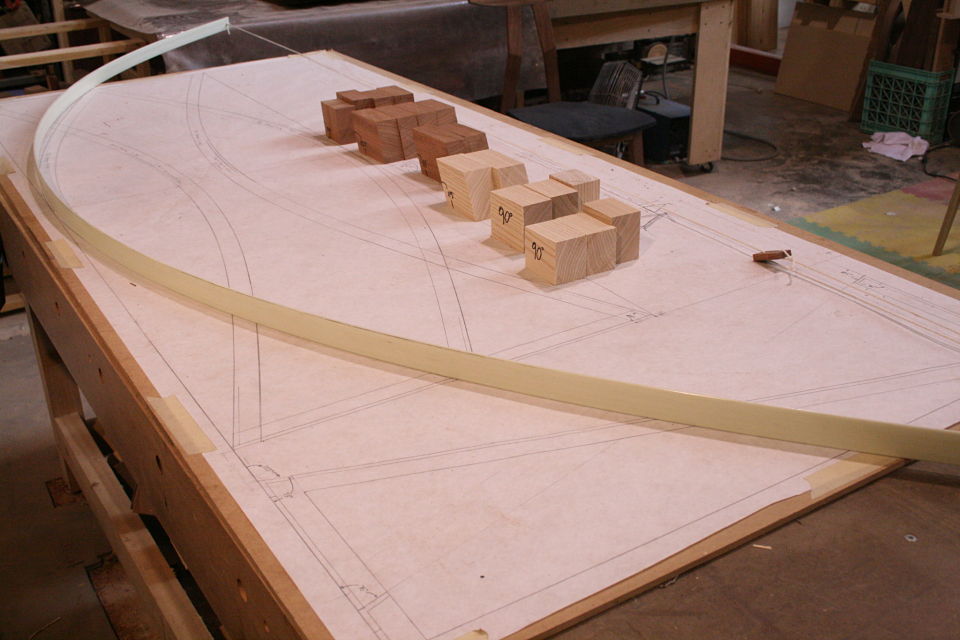
So, in order to ensure as much accuracy as possible (we're kind of out in space after all) I not only provided a full scale drawing but also made jigs/forms for my metal worker to fabricate the curved twisting angle iron. You can see the angle blocks change from acute to obtuse along the curve, he used these to clamp a strip of cold rolled steel along, and then butt a curved section up to it tacking it along the way. The result was fabricating curved angle iron that changes from acute to obtuse back to acute, or vice-versa.
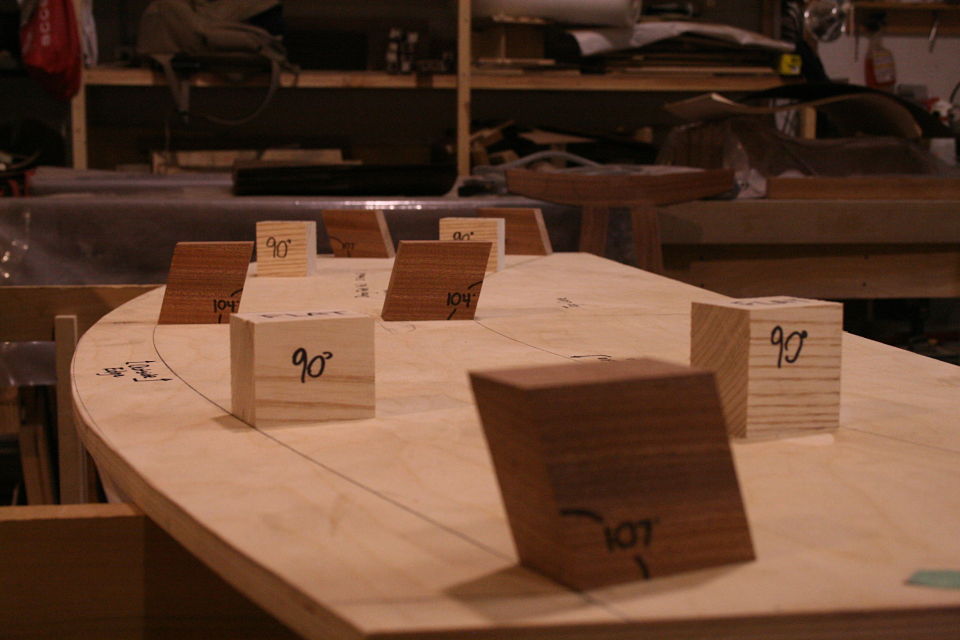
There is also a twisted straight section where the angle iron changes from acute to obtuse down the length, no curves, these pieces will make up the triangular ends.
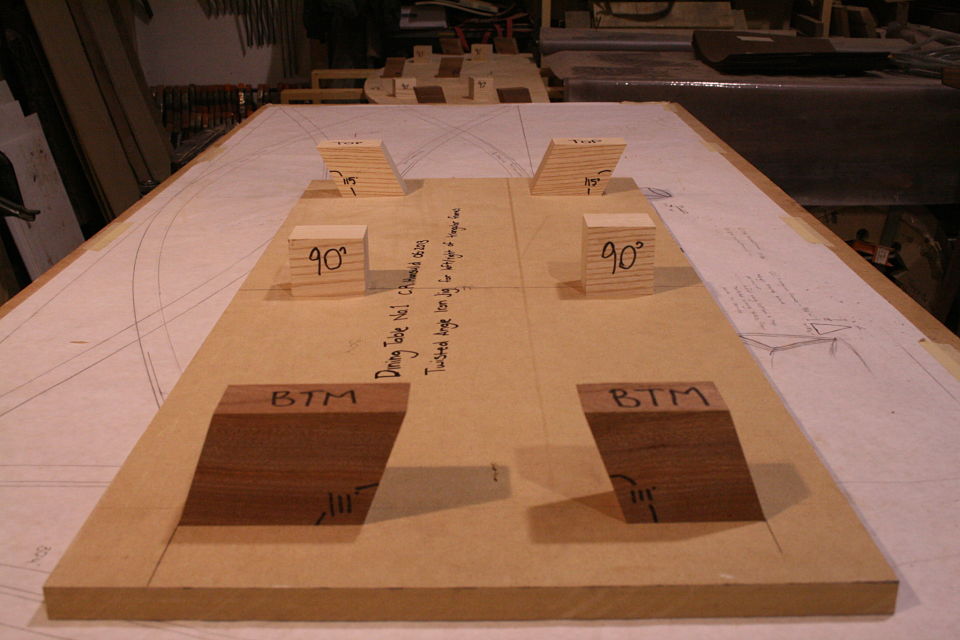
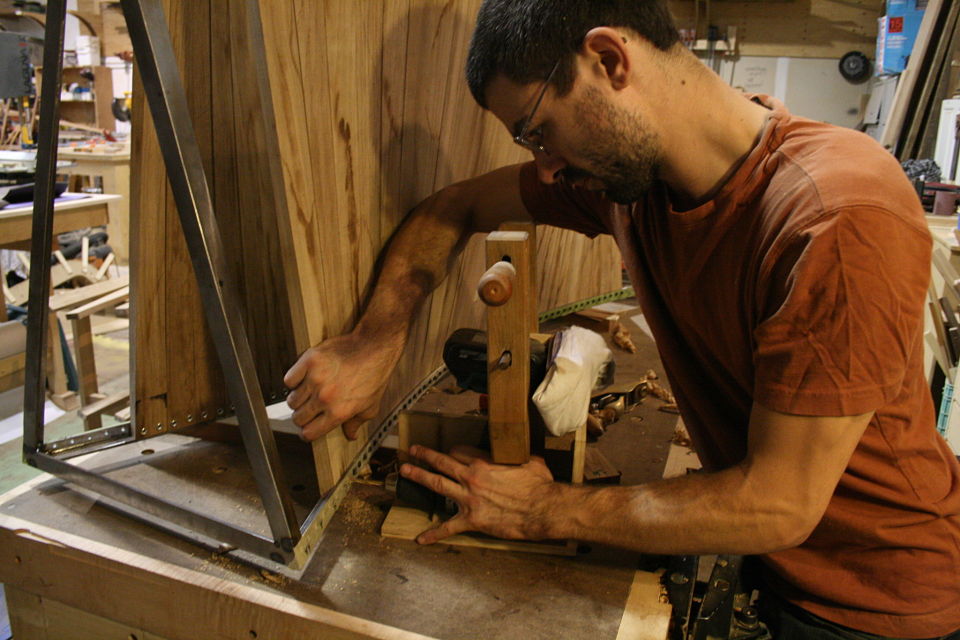
A lot of head scratching went on with this one, at this point I still had no idea just how the wood slats were going to get fit and attached to the frame. There was also the dilemma of not actually knowing if the piece would be sturdy enough to hold a large piece of glass, but its working in the world of unknown that keeps this exciting.
